I. Export your movie to a QuickTime file.
(This example uses Final Cut Pro, but you can use any editing or video software, as long as the final output is a high quality .mov file. And be sure to save that file to the "this_dvd" folder on your Desktop.)
1. In Final Cut Pro, "File" "Export" "QuickTime Movie"

2. Pop-up, Current Settings, Audio and Video, None, click "Save".

3. Close Final Cut Pro.
II. Compressor.
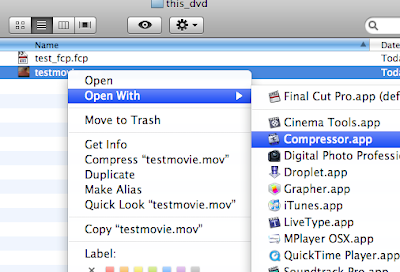
1. Open the "this_dvd" folder on your Desktop. Control-click your .mov file, choose "Open With...", "Compressor" from the pop-up menu.
2. After Compressor loads, pick a standard window layout. This will make the various Compressor tools easier to find. From the Compressor top menu, select "Window", "Layouts", "Standard 1280x800".

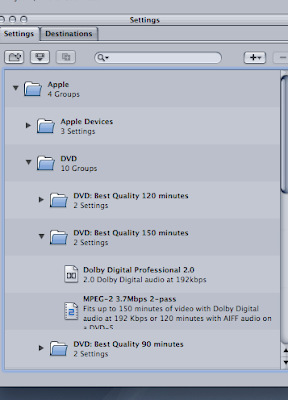
3. In the Compressor "Settings" tab, expand the folders... "Apple", "DVD", "DVD: Best Quality 150 minutes". This folder contains two icons, one for Dolby and one for MPEG-2. Drag both icons up to the .mov rectangle at the top of the screen (where it says "Drag Settings and Destinations Here").
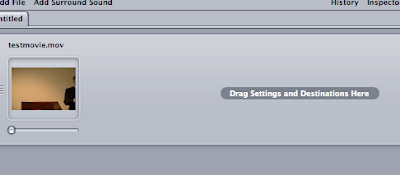
4. In the top left "Untitled" window, click the "Submit" button.
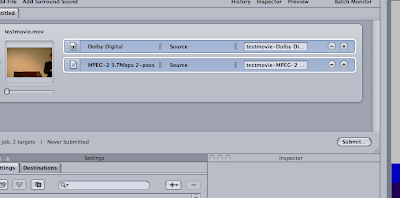
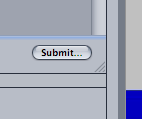
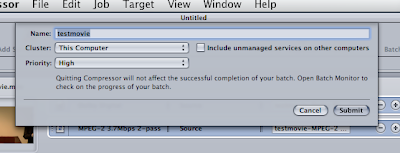
5. This will open a pop-up window. Click the "Submit" button.
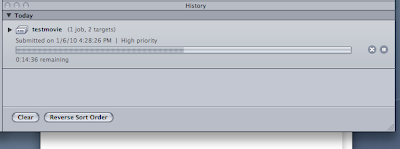
6. If you go to the "History" window (bottom right) and expand the "Today" item, you should get a display showing progress.
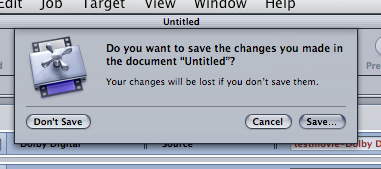
7. When the processing is complete, go to the Compressor top menu and select "Compressor," "Quit Compressor." You'll get a "Do you want to save the changes..." pop-up window. Choose "Don't Save".
III. DVD Studio Pro.
1. Open DVD Studio Pro. While you're waiting for the program to complete loading, set aside a blank DVD-R--you'll need it later.
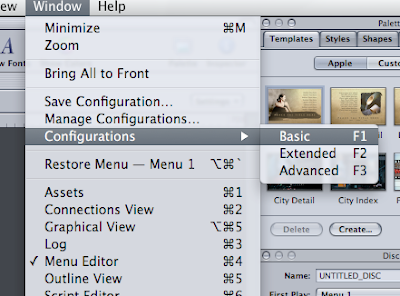
2. Go to the DVD Studio Pro top menu. Choose "Window", "Configurations", "Basic".
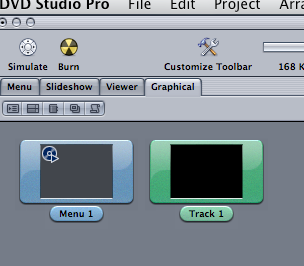
3. In the top left "Untitled" window, click on the "Graphical" tab.
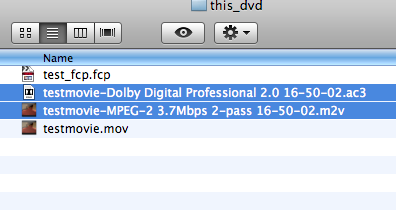
4. Use the Finder to open your "Desktop", "this_dvd" folder. Drag the .ac3 file and .m2v file into the "Track 1" box on the DVD Studio Pro top left "Untitled" window.
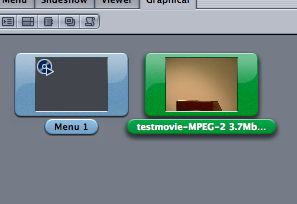
5. Click on the Track 1 box, which will now carry the name of your .m2v file.
6. In the "Track" window (bottom right), select [Track] for End Jump.

7. Back in the "Untitled" window, click on the gray area of the "Graphical" tab (anywhere but the "Menu 1" box or the track box).
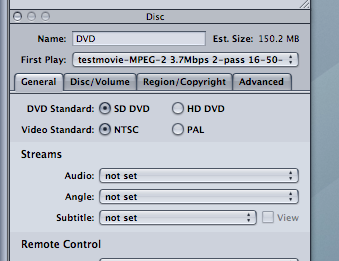
8. The bottom right window will now be labeled "Disc". In the "Disc" window, change "First Play" to [Track]. Type "DVD" in the "Name" box.

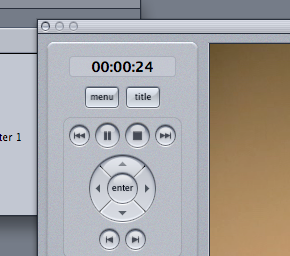
9. Click the "Simulate" button at the top of the screen. You should get a video window playing your video.

10. Close the Simulator by clicking the small circled "X" at the top left corner of the Simulator window.
11. From the main DVD SP menu, select "File", "Save As". Use the same folder ("this_dvd" on your Desktop). Name the file ("thisdvd", for example). Click the "Save" button.


12. Click the "Burn" button at the top of the "Untitled" window. You'll see a "Disc Insertion... Please insert acceptable DVD..." pop-up message. Insert your blank DVD-R into the computer's DVD drive.
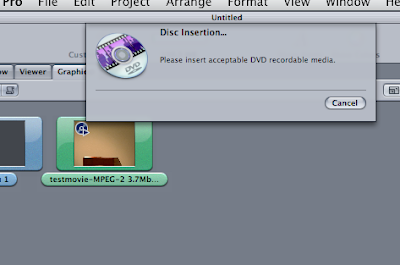
After that, the program will run for a while and should eventually eject a formatted DVD. Put it in a DVD player and watch it, making sure everything looks like it should.


1 comment:
Nice information provided by you, it really helped me to understand this topic. I have also referred this article to my friends and they also enjoyed this informative post. Apple Compressor Crack
Post a Comment